Sometimes, your boat will tell you it’s time for a redo. In my case, my boat sent me that message at a good time of the year, in mid-October, on the last ride of the season.
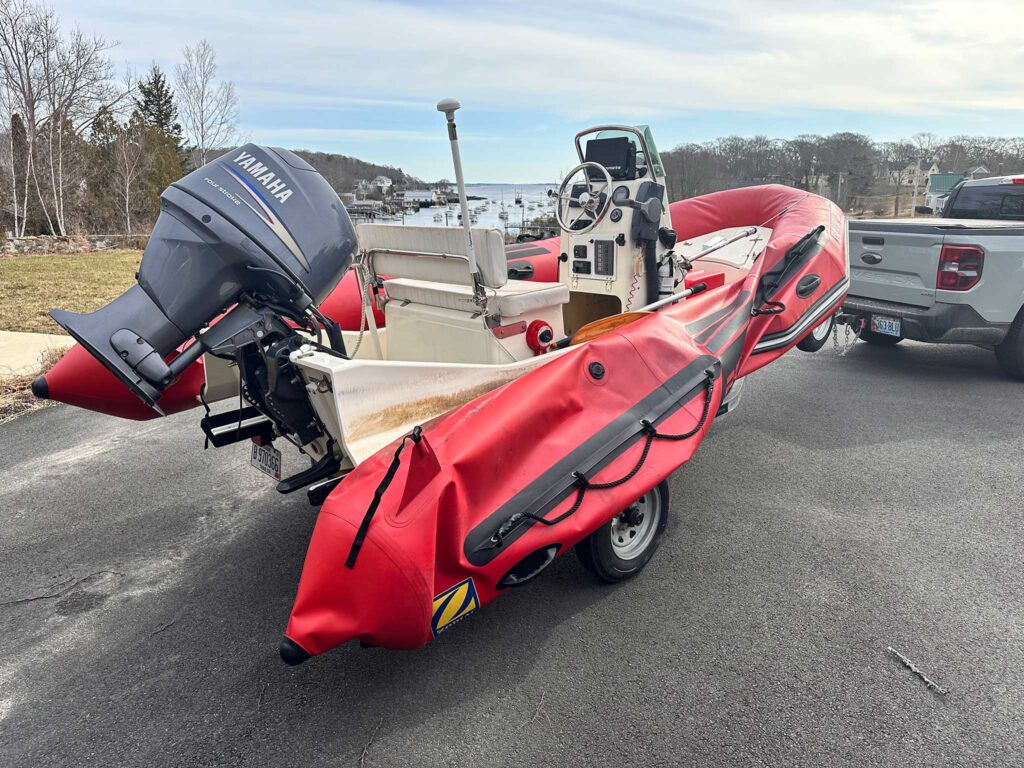
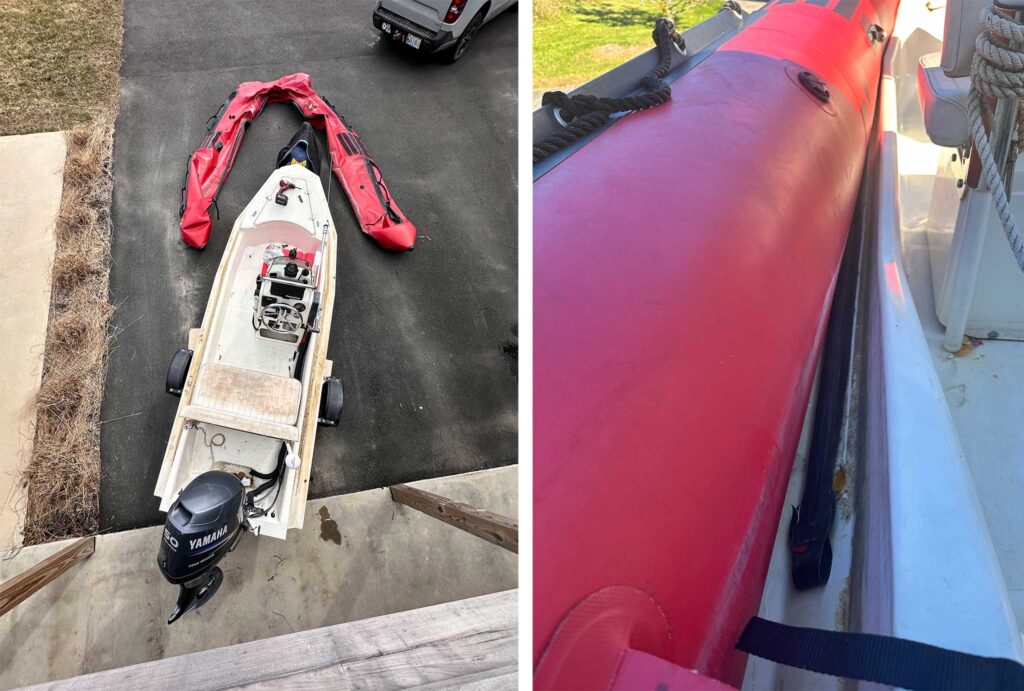
While running home from Maine’s Monhegan Island in 1- to 2-foot seas, the port tube on my Zodiac RIB started flopping around at the stern. The tube remained inflated, and it was still attached from midship forward, so I wasn’t alarmed. Then I noticed the starboard tube going soft. I probably should have been concerned, but instead, I chuckled. What were the odds that one tube would separate from the hull while another would start to deflate?
Two of the tubes’ five air chambers were slowly leaking. I was doing 25 knots, and at that speed, I’d be home in less than 20 minutes. I just had to keep the fiberglass hull on plane, and I’d make it to the boat ramp.
Pim Van Hemmen
But then the engine sounded wonky. I had destroyed a prop over the summer, which I’d replaced, but I was pretty sure that the prop shaft had gotten a hair out of line too. It hadn’t been bad enough to end my season, but was the prop shaft now causing issues as well?
I’d purchased my 2008 Zodiac Pro 9 Man in 2010 with just 60 hours on her 50-hp Yamaha, and for 15 years she’d been a very reliable boat. My kids quickly named her Bob because her red tubes made her look and act like a fisherman’s bobber. We were living in New Jersey, and she provided us with countless hours of fun. Tubing was a favorite activity for the kids and their friends; my wife and I loved to putt-putt around at sunrise while sipping our morning coffees; and dock-and-dine was always easy with Bob’s 16-foot, 5-inch length being short enough to fit in at the dinghy docks.
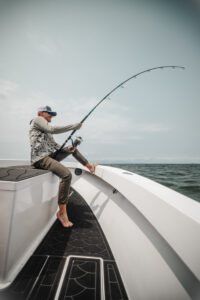
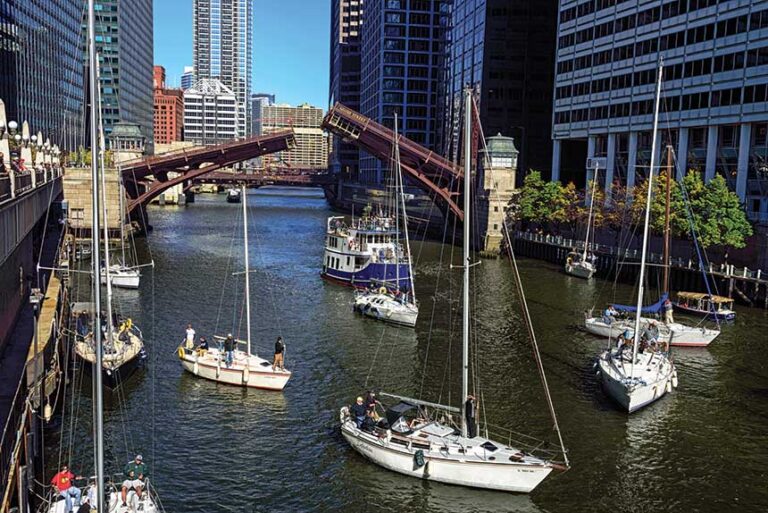
Bob joined us for vacations in Maine, got towed to Michigan where I photographed historic ships from the water, and hauled oyster-shell bags while I worked for an environmental organization.
The tubes always made us feel safe. They provided excellent stability, and despite Bob’s diminutive size, allowed her to handle conditions that would send much larger, tubeless boats home well before we needed to head for port.
That Monhegan trip ended without more drama, but after getting the boat on the trailer, I realized that 15 years of heavy use had taken its toll on Bob. After 17 years total, the port boltrope’s glue had let go of the tube (on larger Zodiacs, the tubes are secured by a boltrope that slides into a track in the fiberglass hull) and on the starboard side, one of the valves had started leaking. Bob needed a makeover.
Pim Van Hemmen
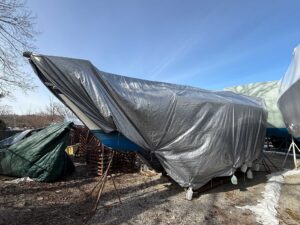
Zodiac’s PVC tubes have a 10-year life expectancy, but according to Ryan Jaco, the regional sales manager for Z Nautic Group, properly maintained PVC tubes can last much longer. Jaco told me that if you clean the tubes, apply 303 or another UV protectant, and keep the tubes covered when the boat is not in use, the life expectancy will far exceed a decade.
I always dry-sailed Bob, washed her after every ride and stored her inside a garage where the sun’s UV rays wouldn’t degrade the tubes. It’s probably why my tubes lasted 17 years. Jaco has a far more impressive tube story. He told me that at this year’s Miami International Boat Show, he displayed a 1986 Zodiac dinghy that still had its original PVC tubes. “Some of the glue gave out after 40 years and had to be reglued,” Jaco says,” but the material and boat as a whole was in exceptional condition.”
It was possible to reglue the tubes myself, but I also called a local inflatable repair shop. I was told it would cost about $600 to reglue the boltrope and replace the valve. But deep down I felt that regluing was not the way to go. It occurred to me that on a future ride, old glue could still let go elsewhere on the boat. That made me think about new tubes.
Defender.com offered Zodiac PVC tubes for $2,995. The tubes also happened to be on sale at 20 percent off. New Zodiac Hypalon tubes, which are rated to last 15 to 20 years, were $7,595. Considering that my last set of PVC tubes lasted 17 years, I didn’t think the cost of the Hypalon tubes was worth the extra money. Since I now live in Maine, where the UV exposure is much less of a factor than in Florida, I decided to stick with PVC tubes.
I really wanted orange tubes, but Zodiac didn’t offer them, and sadly Defender had neither red nor black in stock. All they had for my Pro 9 Man were light gray tubes and they were the only ones available in the entire country. If I wanted a different color, I would have to wait five months for them to arrive from Europe, which would have taken a huge bite out of my boating season. So, light gray it would be.
The Zodiac boltrope system has a distinct advantage over other installation methods. Almost all of Zodiac’s current Yachtline, Medline, Open and Pro models use this boltrope system, and it is an enormous money-saver. Many RIB manufacturers glue tubes onto the fiberglass—a process that is labor intensive and expensive. Zodiac’s tubes, however, can be installed by the owner. Slide the boltropes into the port and starboard tracks, secure the two screws and washers at the bow, connect the two straps at the stern, inflate the tubes and off you go.
Replacing the tubes goes much faster when two people do it. I am certain it would have gone even faster if four people had done it, but I was impatient. And, let’s be honest, stupid. I did it alone.
Pim Van Hemmen
I shimmied 4 inches of boltrope out of the track on one side, then walked around the boat to shimmy another 4 inches off the other side. I repeated that process a few dozen times. An hour later, the fiberglass hull looked
anorexic. It was also filthy. The tubes had trapped 17 years of debris against the fiberglass. I spent another two hours cleaning the hull inside and out with Davis Instruments Fiberglass Stain Remover, and it worked like a charm. It didn’t make my fiberglass hull look new again, but it looked a thousand times better.
With my air compressor, I blew debris out of the tracks and then sprayed them with a mixture of Dawn dish detergent and water to make them slippery for the new tubes’ boltropes. To protect my new investment, I covered the driveway and the trailer head with moving blankets. I then tied heavy lines onto the boltropes to help me pull them through the tracks.
Because I worked alone, I had to constantly line up the boltropes at the bow, then walk to the stern to yank the lines and get a few more inches of boltrope into the track. Two hours later, the tubes were on. The trickiest part was getting the screws and washers reinstalled at the bow, which had to be done before I pulled the last few inches of tube onto the boat. Fortunately, I had one H5/32 bit in my workshop that fit the screws.
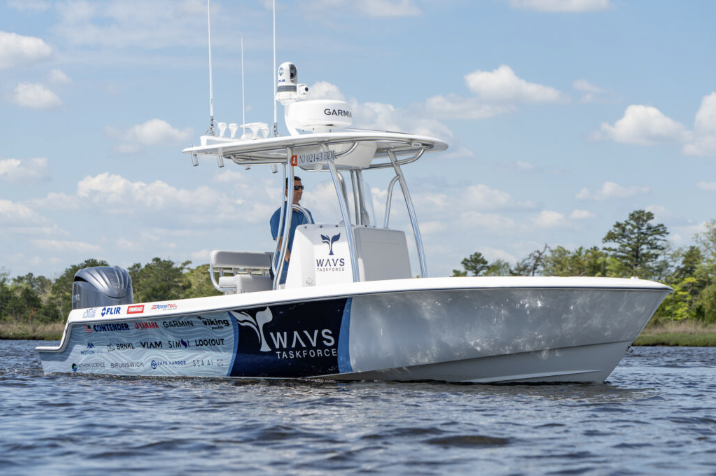
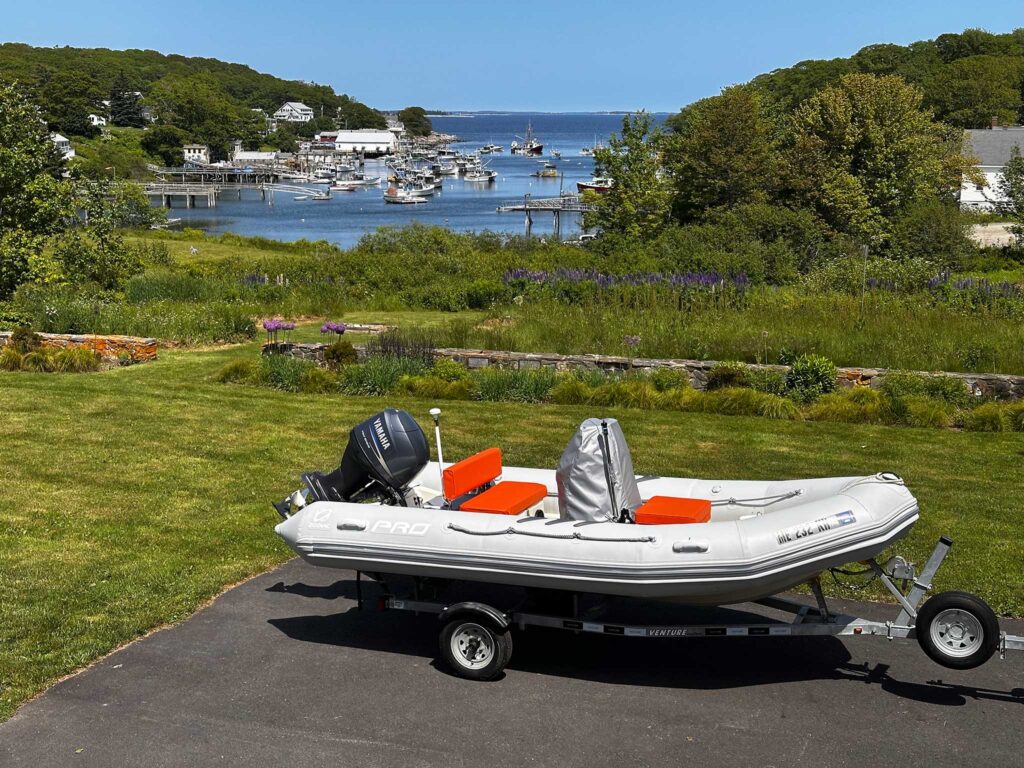
With the stern straps attached to the boat and the tubes inflated, Bob already looked much better, even though the gray tube color bored me. Instead of my old red RIB, which had been highly visible on the water—something I liked because I am frequently out at sea—Bob had joined the enormous, anonymous gray inflatable club. Truth be told, I didn’t like it.
Having spent $2,500 on new tubes and feeling a bit deflated about the color, I decided to add some pizzazz. Over the years, the white vinyl bench seat had been slathered with everything from sunscreen to the green slime that collects on oyster shell bags. Simply put, the seats looked skanky. They were also sticky, which is why I usually covered them with a bath towel. My friend Libby Reed had recently restarted her marine canvas business, so I paid her to make Bob some spiffy orange seats.
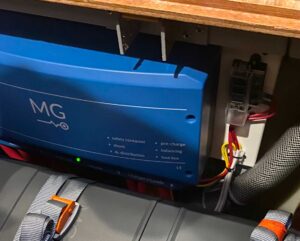
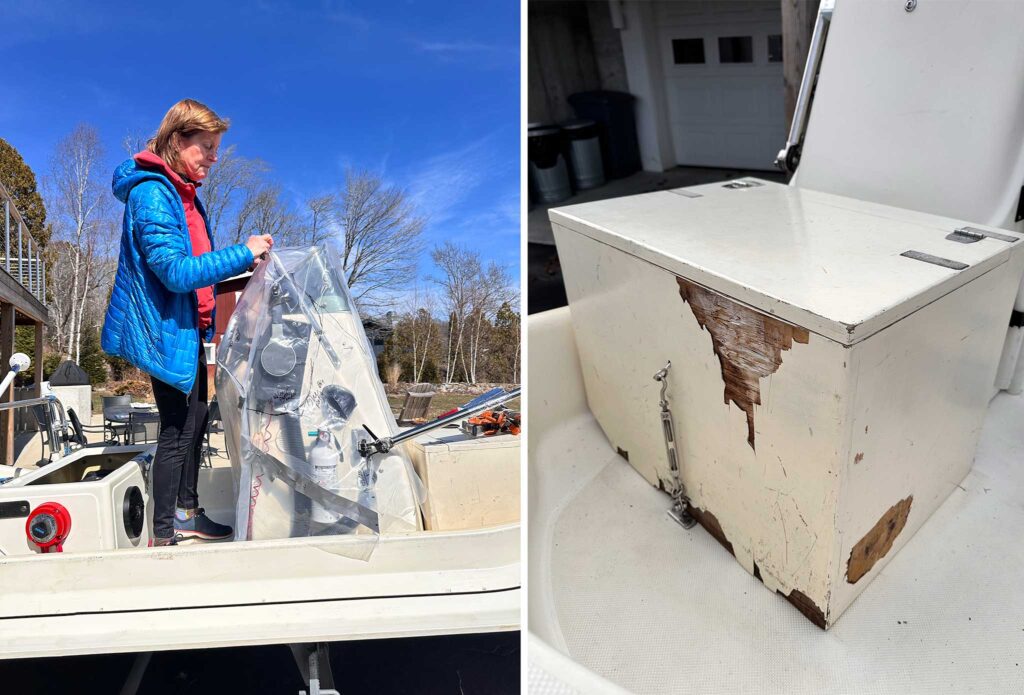
Other than annual engine maintenance and buying a new lower unit for the outboard when my mechanic couldn’t get the old seals out for replacement, the biggest financial investment I’d ever made in Bob was an elaborate electronics package. I had just installed the electronics earlier in the year, so to protect them, I asked Libby to make a console cover. She spent a couple hours on the boat cutting, stapling, marking, pinning and duct-taping a sheet of poly over the console to make a template. A couple weeks later, the custom cover was ready.
The problem with fixing up a boat is that each improvement makes all the old stuff look like dog doo. After replacing the tubes and seats, everything else looked tired and worn. The plywood box I had built 15 years before to provide a seat over the 12-gallon fuel tank had become an embarrassment. Built out of ordinary ¾-inch plywood, it was supposed to have been a short-term solution. Life interfered. Now, well past its life expectancy, the plywood layers were flaking off the box.
The fuel box forward of the console has always been my wife’s favorite place to sit during rides. To replace it, I went to see my friend John Brackett. John owns John’s Marine Care in New Harbor, Maine, where he builds the Coombs Cove boats. He knows how to build pretty much anything, but when I asked him if I could build a new box out of Coosa board, he told me fiberglass would be lighter and look better. Since I had zero experience building with fiberglass, John offered to show me, if I’d do the grunt work.
Pim Van Hemmen
I’ll spare you the lengthy building, grinding, sanding and painting process, which took many weeks and included more than a dozen trips to John’s workshop. Let’s just say the box came out beautifully, although I still think building it out of Coosa board would have been much faster and simpler.
When it comes to fixing up a boat, the devil is always in the details. And with Bob there were a lot of details.
On the old red tubes, the matching red registration plates had been glued on. Since the plates were nearly impossible to remove and, now, the wrong color, I ordered gray ones from boatnumberplate.com. This time, instead of gluing them on, I ordered the self-adhesive ones, which made the installation a two-minute breeze.
I also wanted to install a keel guard to protect the boat’s gelcoat from Maine’s rocky beaches. I ordered it at keelguard.com, but when I read the instructions, I learned that trailer rollers could rip the keel guard right off the boat.
Removing those rollers turned out to be an adventure. The U-bolts were heavily corroded, so instead of using a socket wrench, I figured my metal grinder would get them off in short order. Here’s my public service announcement: While lying under a trailer, keep your head and body out of the way when cutting through U-bolts. Those U-bolts are under tremendous pressure. When the grinder makes its way through the bolt, it releases with a bang that sounds like a bullet coming out of a gun. Fortunately, when I cut the first bolt, the short end of it hit the garage wall and not my head.
Raising the bunks to keep the keel guard off the trailer’s crossbars turned out to be a lot less adventurous. The bunk’s bolts hadn’t corroded, and a jack got the boat off the bunks so I could move them up a few inches. While I was at it, the ball coupler, which had been giving me trouble since I’d bought the trailer seven years previously, was replaced; the bow stop and trailer winch were repositioned for a better fit; and the keel stop, which had always come up short, was lengthened.
All the trailer work made the actual Megaware KeelGuard installation look like an afterthought. To do that, I marked out the area with masking tape, scuffed the gelcoat and primed it with the included primer. It took a little over an hour. The hardest part was installing it in a perfectly straight line. That tiny wiggle? I doubt you’ll ever see it below the waterline.
And as for those engine gremlins, when my mechanic winterized the engine, he looked at the shaft. Even though it was bent the tiniest of bits, he advised me to replace it.
Pim Van Hemmen
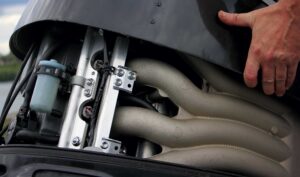
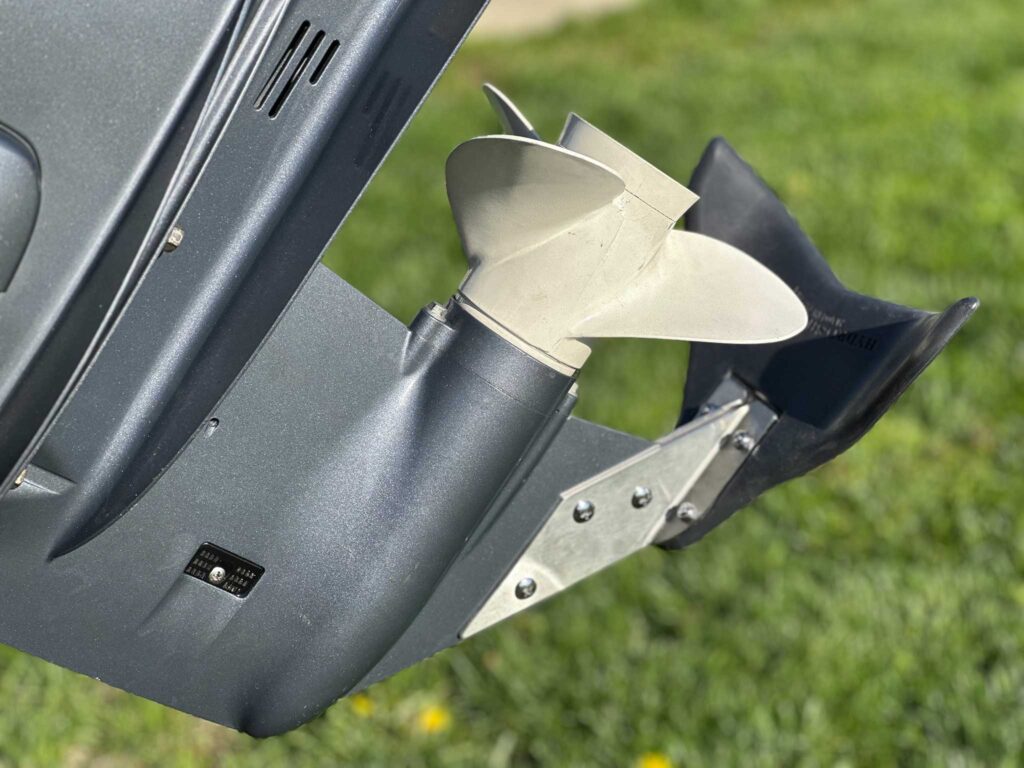
Losing the prop the previous summer caused me to look for a way to protect it in the future. I found the solution in the Hydro-Shield Hydrofoil boat stabilizer. Years ago, a friend had installed a hydrofoil on his outboard, and even though he swore that it gave his boat better performance, I hated the way it looked. The Hydro-Shield Hydrofoil, which mounts on the outboard’s skeg, looks much sleeker than standard hydrofoils that mount on the outboard’s cavitation plate. Most important, because the Hydro-Shield sits below the prop, it should protect it and reduce the likelihood I’d snag a lobster pot line.
When the Hydro-Shield arrived in the mail, I was impressed with the quality of the materials. The stainless steel mounting brackets were beefy and should add protection to the flimsy aluminum skeg, and the foil, even though it’s plastic, looked robust. The instructions were crystal clear, and within an hour the foil was on the outboard. Not only does the boat get on plane faster, but she stays on plane at a lower rpm. I may have lost a couple of knots of top speed, but it’s a small sacrifice.
Finally, the boat looked almost new, but then the 37-year-old white fenders caught my eye. Scratched and scuffed with black marks, they resembled the old vinyl bench seat. Two new black fenders fixed that problem, but then the 34-year-old blue Igloo cooler behind the console seat looked really bad. After perusing the shelves at every box store imaginable, I finally found the perfect size and shape to replace it.
The color? Gray. It’s probably appropriate, seeing as at 63 years of age, my hair is now gray. Bob’s also getting up there in age, so now we match.
September 2025